Reducing the amount of 3rd party scripts on your site is essential for performance and security reasons.
It's inevitable that at some point you will need a 3rd party script on your site, e.g. you may want to track page analytics such as page views and device usage. For this post I am going to replace my Google analytics tracking tag with Google tag manager which will form the basis for replacing any compatible tag with Google tag manager.
First step is to sign up to Google Tag Manager and create an account.
You'll need to place two scripts on your page. If they are not automatically displaced you can show them by clicking on the tag link on the top right section of the page:

Copy those scripts to the top of the head and body section respectively on your site as per the instructions.
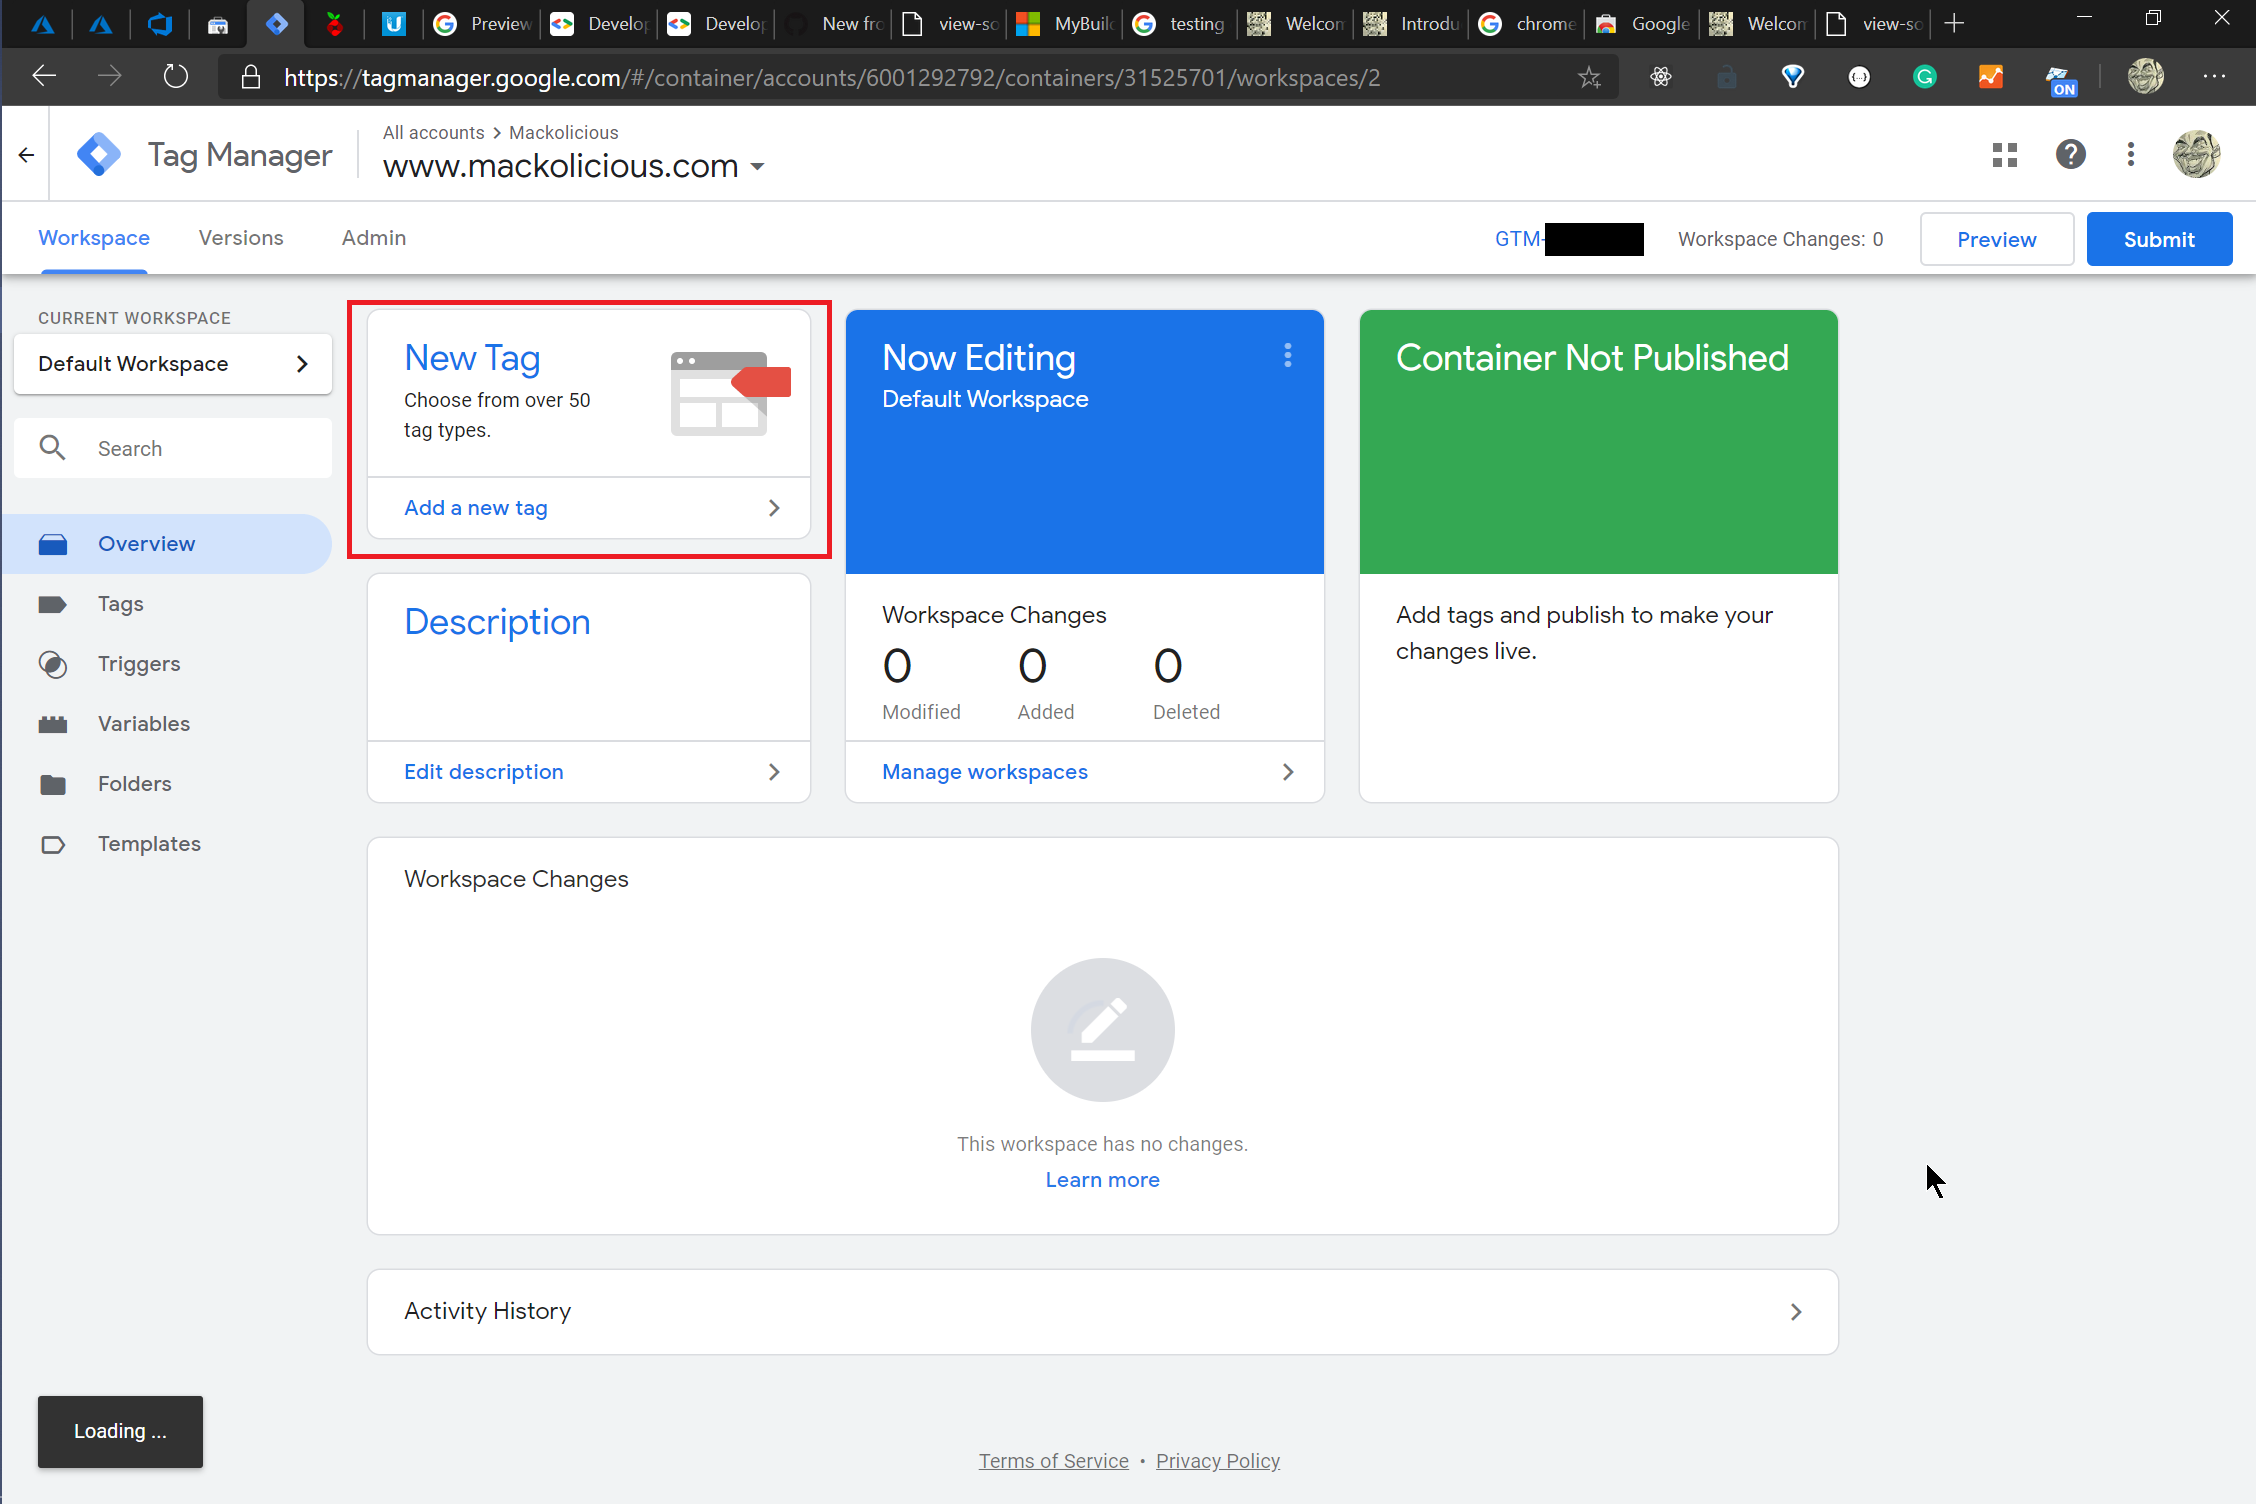
Now it's time to add the Google analytics tag. On the tag manager main page click on the Add a new tag > link:
Choose Google Analytics: Universal Analytics:
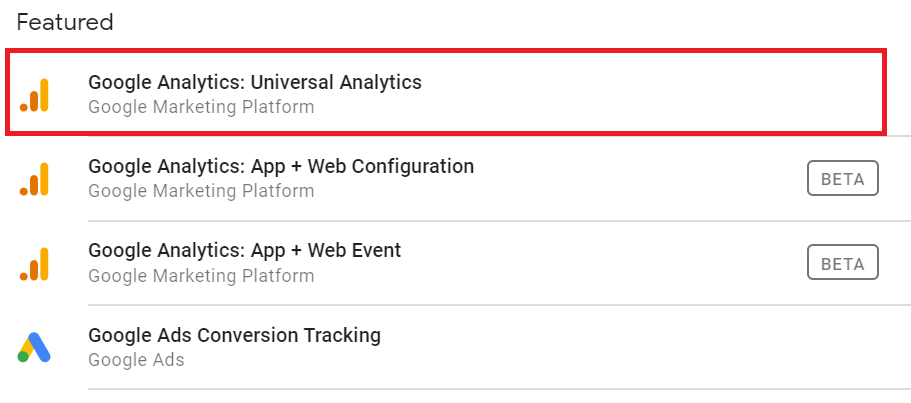
After clicking on Google Analytics: Universal Analytics another side pane will open where you can enter the tag's name and provide some configuration. I chose the following:
- Tag Type: Google Analytics
- Track Type: Page View
- Google Analytics Settings: New Variable....
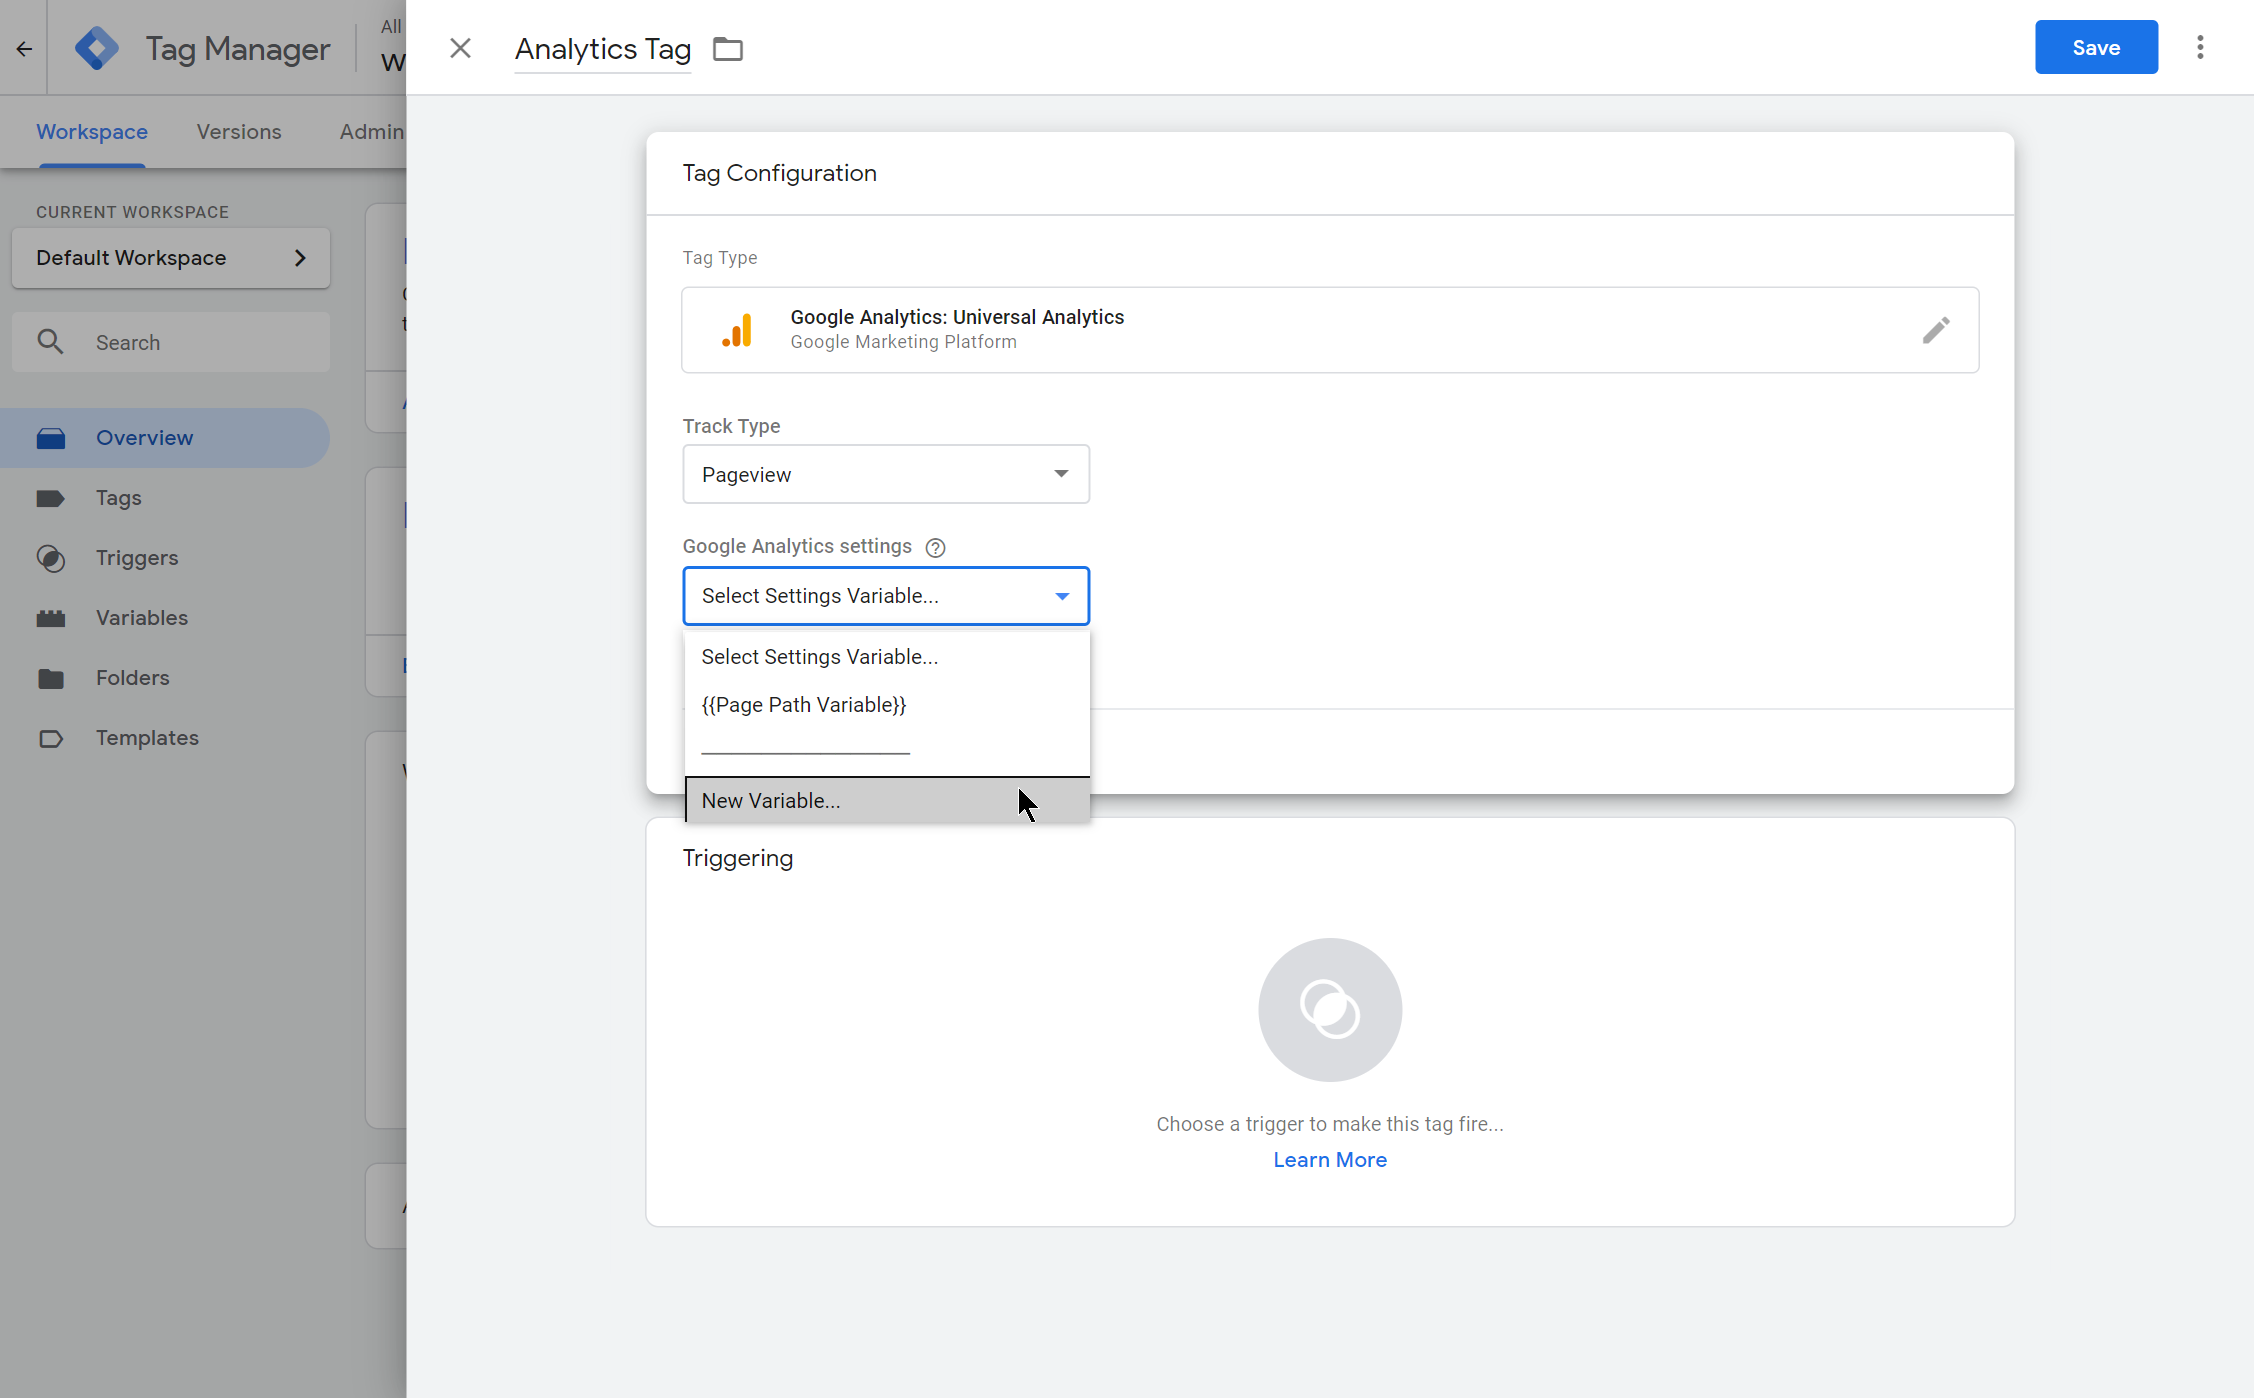
Click New Variable... for Google Analytics Settings. This will open another sidebar where you can supply the following settings:
- Variable Name: Tracking ID Variable
- Variable Type: Google Analytics settings
- Tracking ID: [This is the tracking ID you can obtain from your Google Analytics count, see Obtaining Google Analytics ID]
- Cookie Domain: auto
Save all the changes and then we can preview them to make sure everything is working correctly. Click on the preview button located in the top right corner and then the page should go into preview mode:
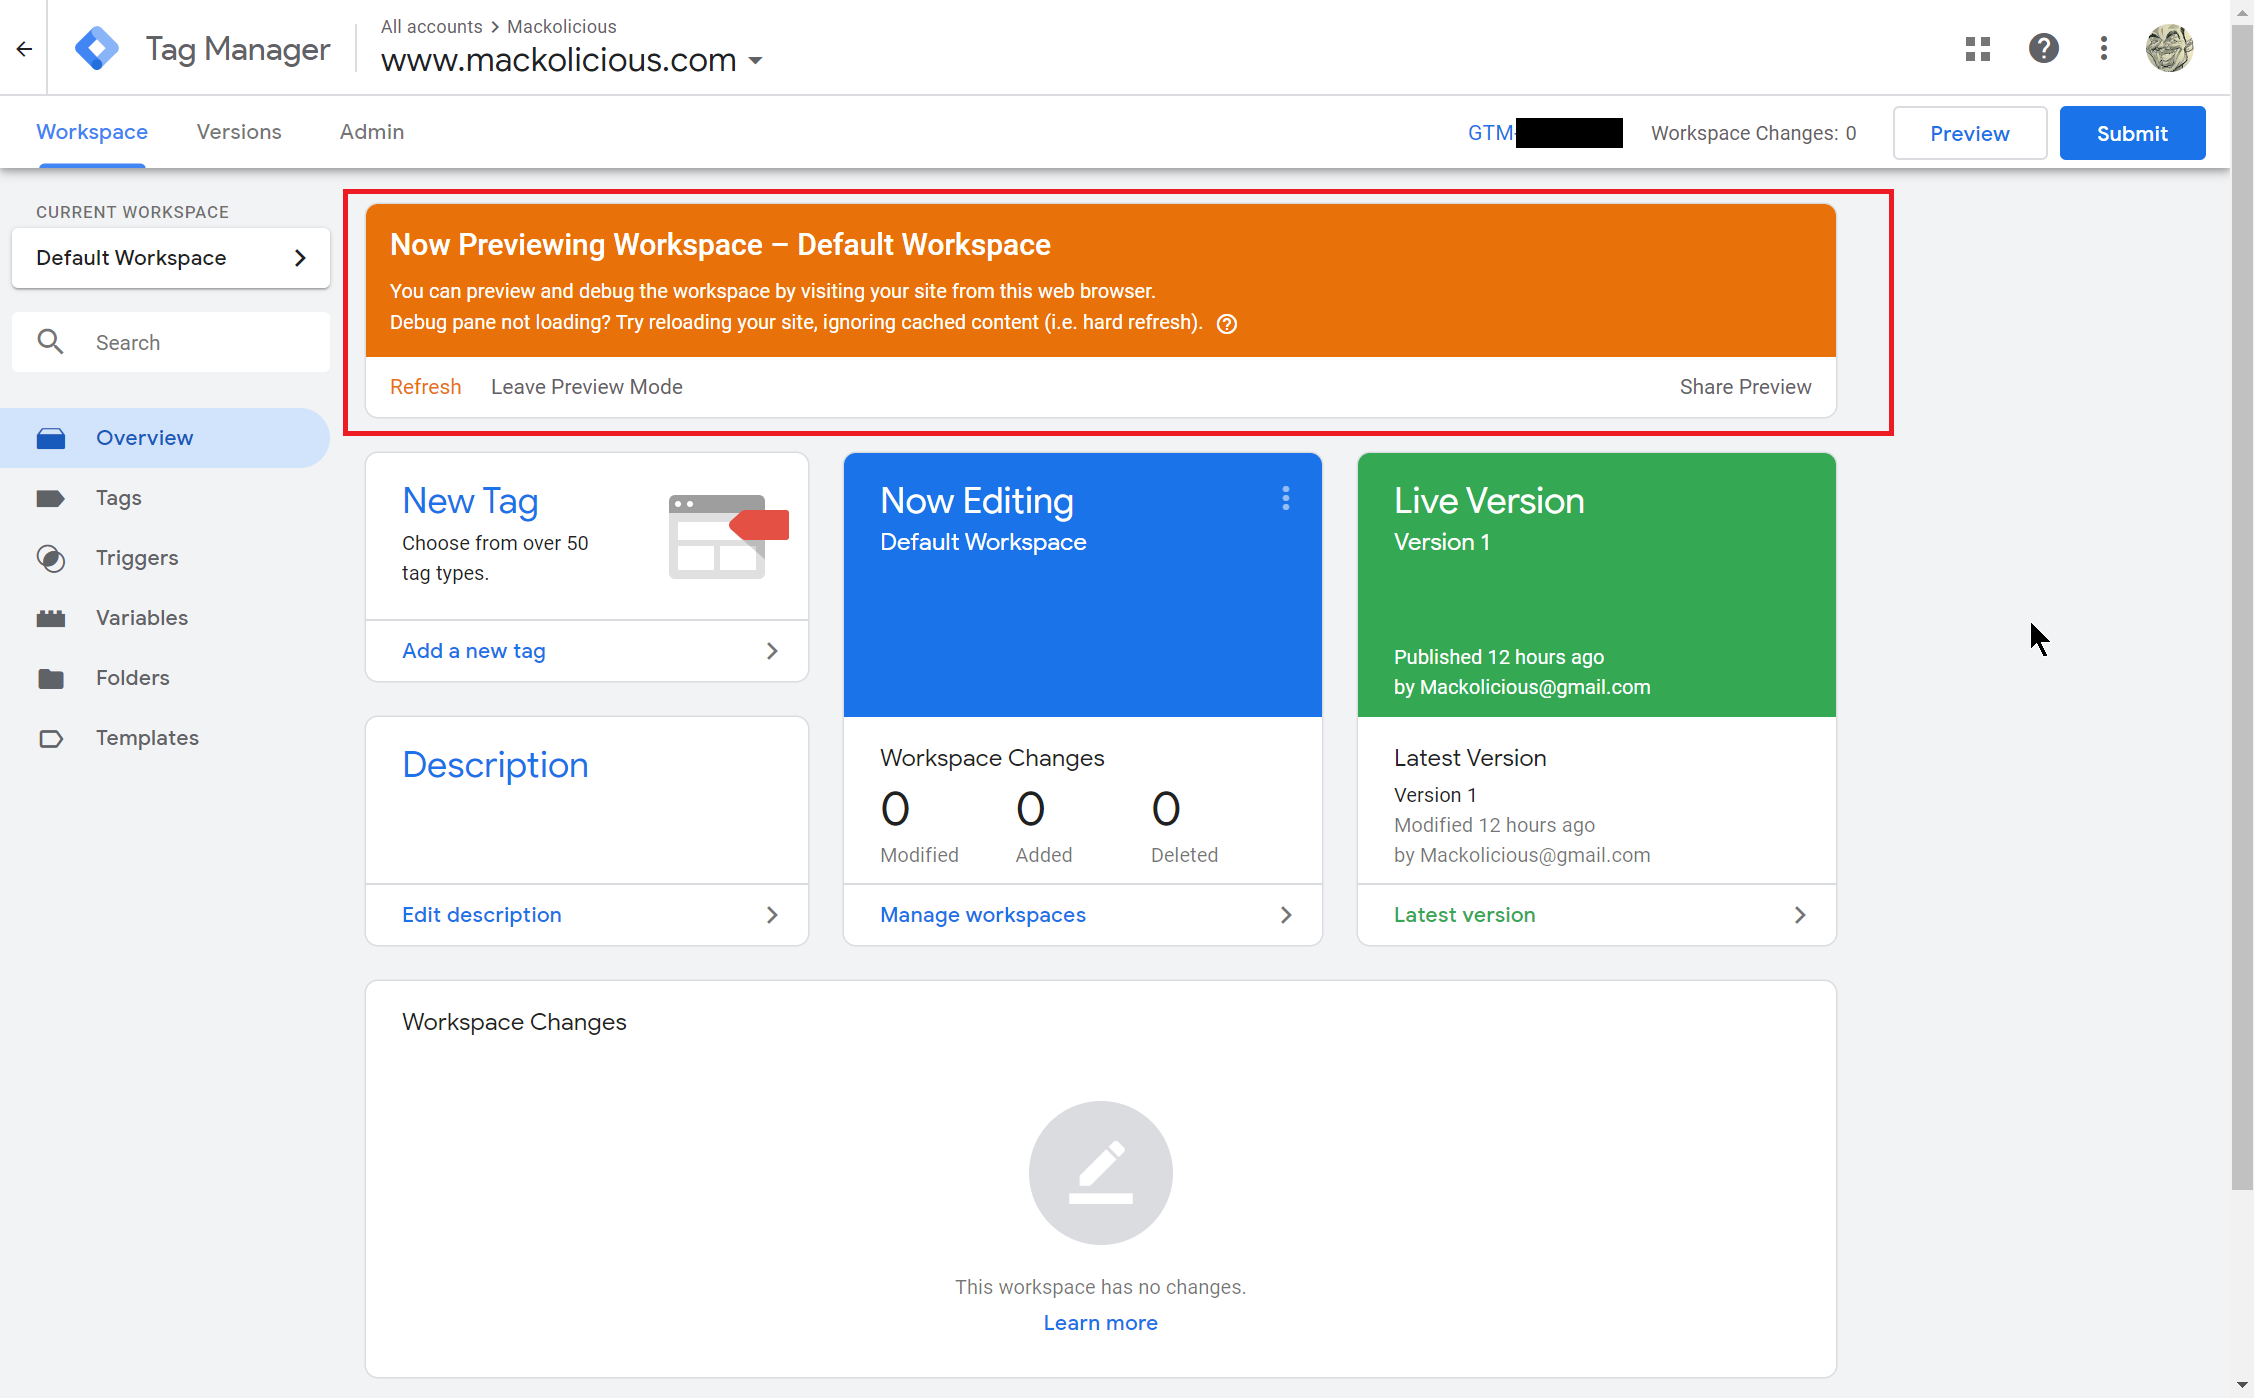
With the page in preview mode we're now able to go into the site in another tab where the tag manager console should appear on the page (at the bottom)
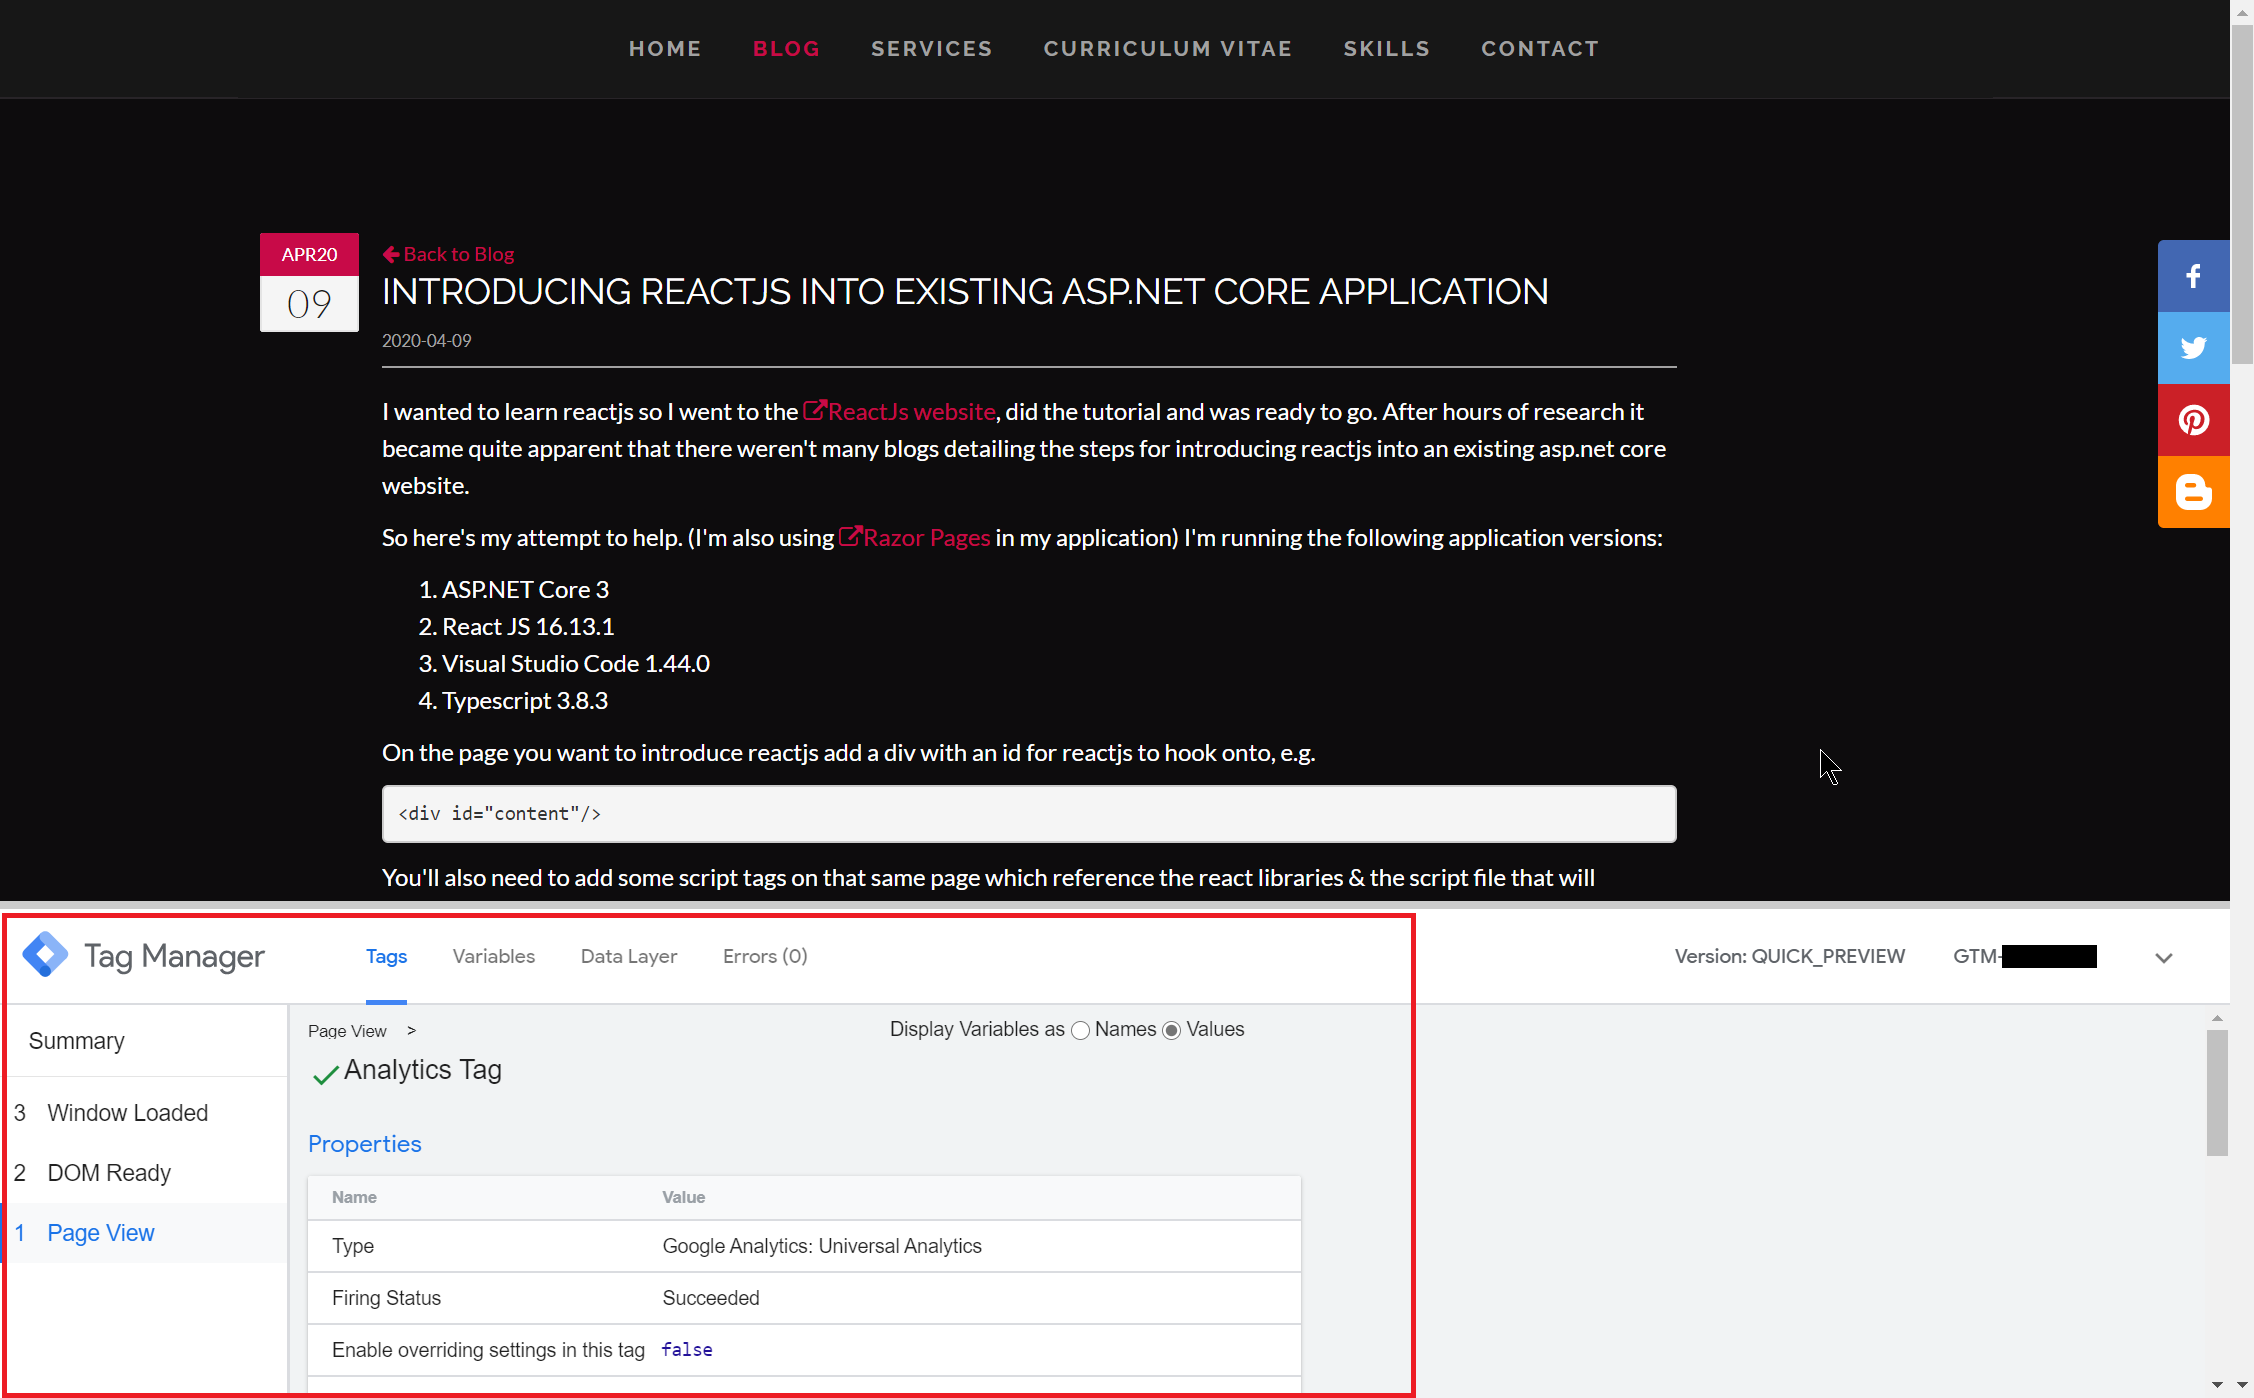
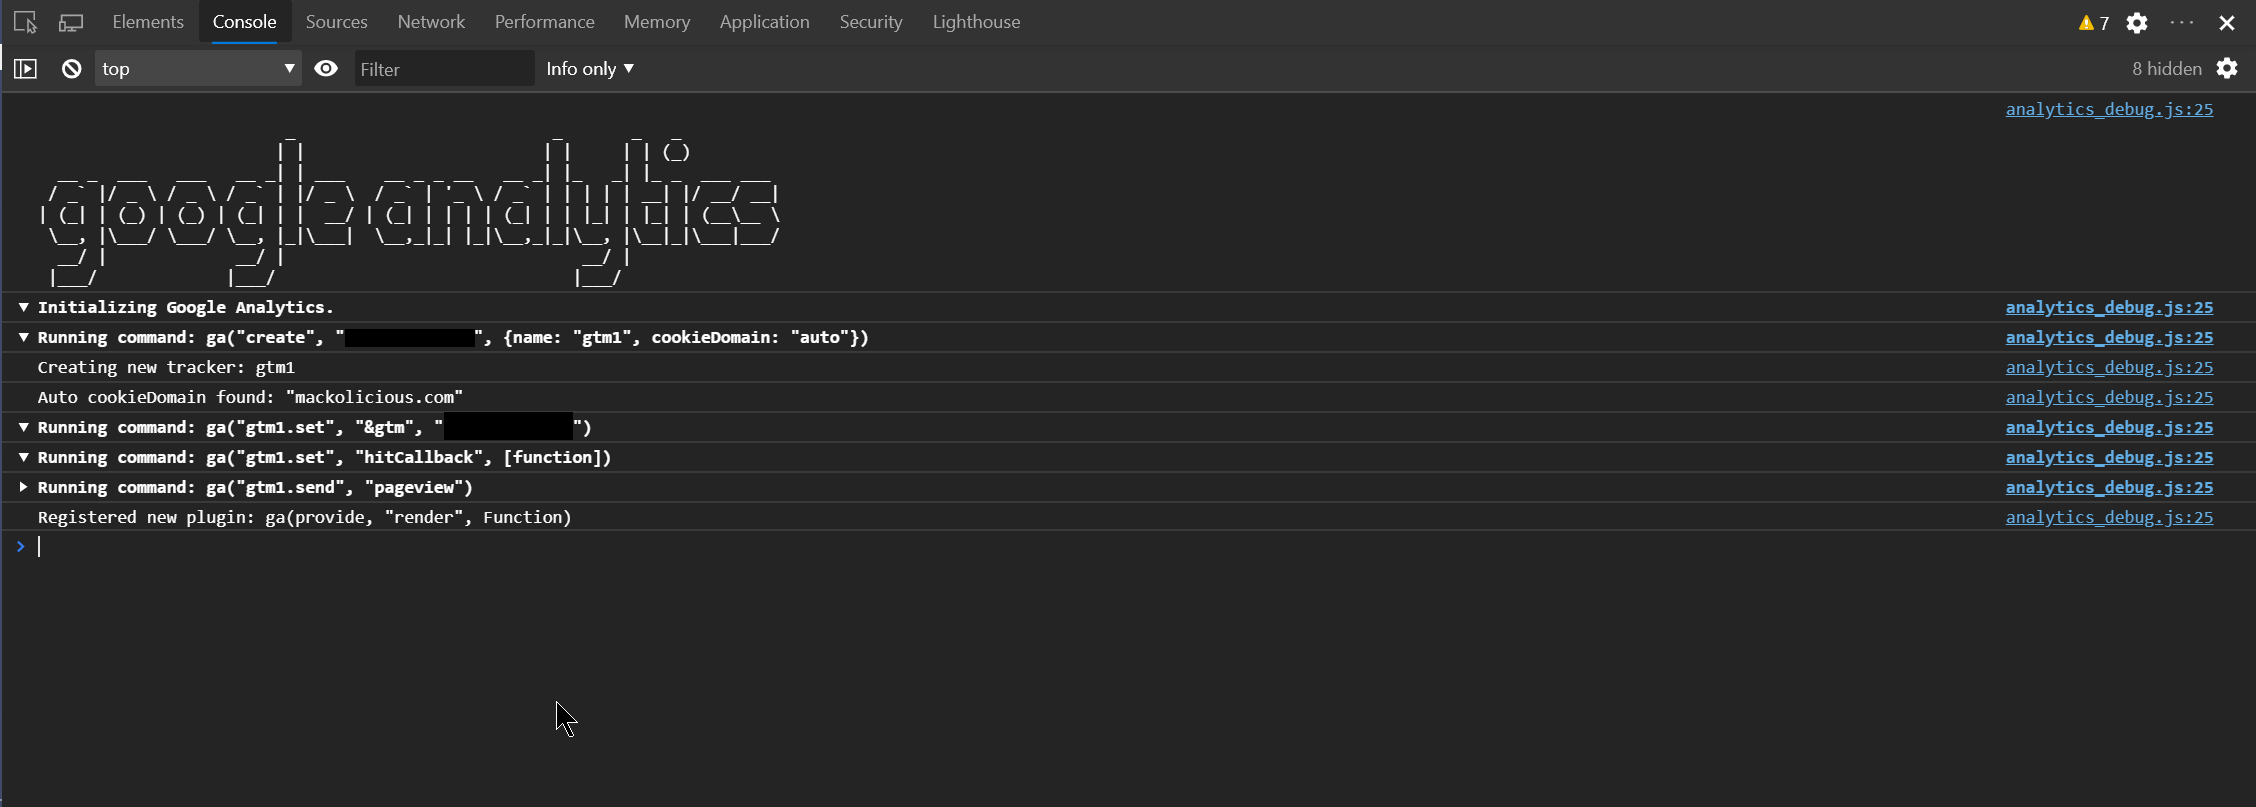
Hopefully all is well, and there are no errors displayed. You can check the Firing Status and the errors tab to be sure. If you have the Google Analytics Debugger installed you can open the browser dev tools console window and have a look at the logs being generated to ensure that they are correct.
The existing Google analytics tag can be removed from your site and then those changes can be published.