This article will demonstrate how to force client certificate authentication using Internet Information Services 10. (This may be applicable to other versions of IIS.)
- 1. Open IIS
- 2. Expand the server node
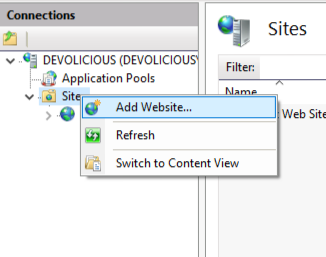
- 3. Right click on Sites
- 4. Then click Add Website...
You can use the following options:
- 1. Site name: SecureSite
- 2. Physical Path: C:\inetpub\wwwroot
- 3. Binding (Type): https
- 4. Binding (IP address): All Unassigned
- 5. Binding (Port): 443
- 6. SSL Certificate: *CHOOSE ANY CERTIFICATE
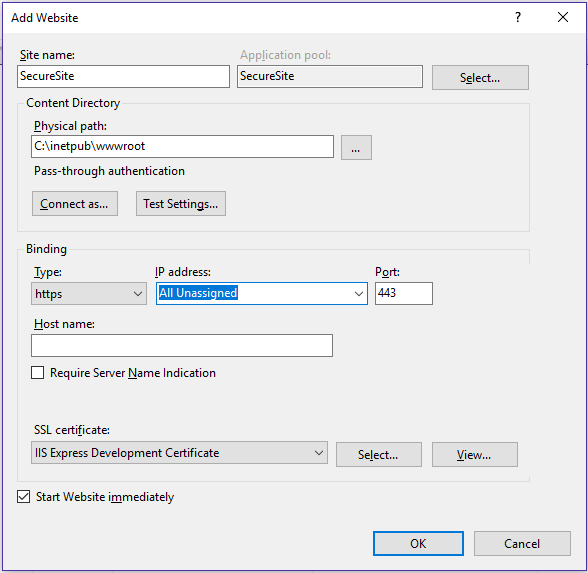
Once you've completed click OK
Click on the newly created site on the left hand side panel to bring up the features view on the right. On the features view on double click SSL Settings

Once you have opened the SSL Settings view select the following options:
- 1. RequireSSL
- 2. Client Certificates: Require
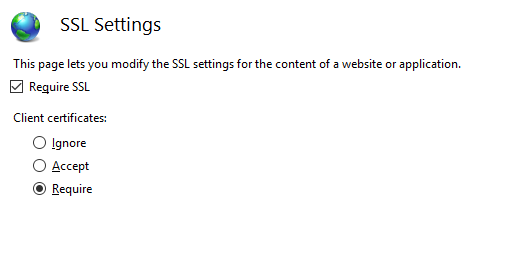
Then click Apply on the far right of the features view to save your changes.
Navigate to that the site to test whether the SSL Settings were applied correctly. Right click on the site in the left hand panel, go to Manage Website then browse
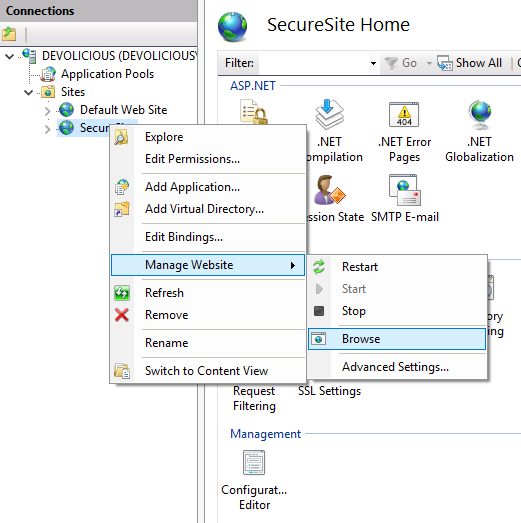
You should see a certificate error page, this is because we used a random certificate. Just accept the error and move on.
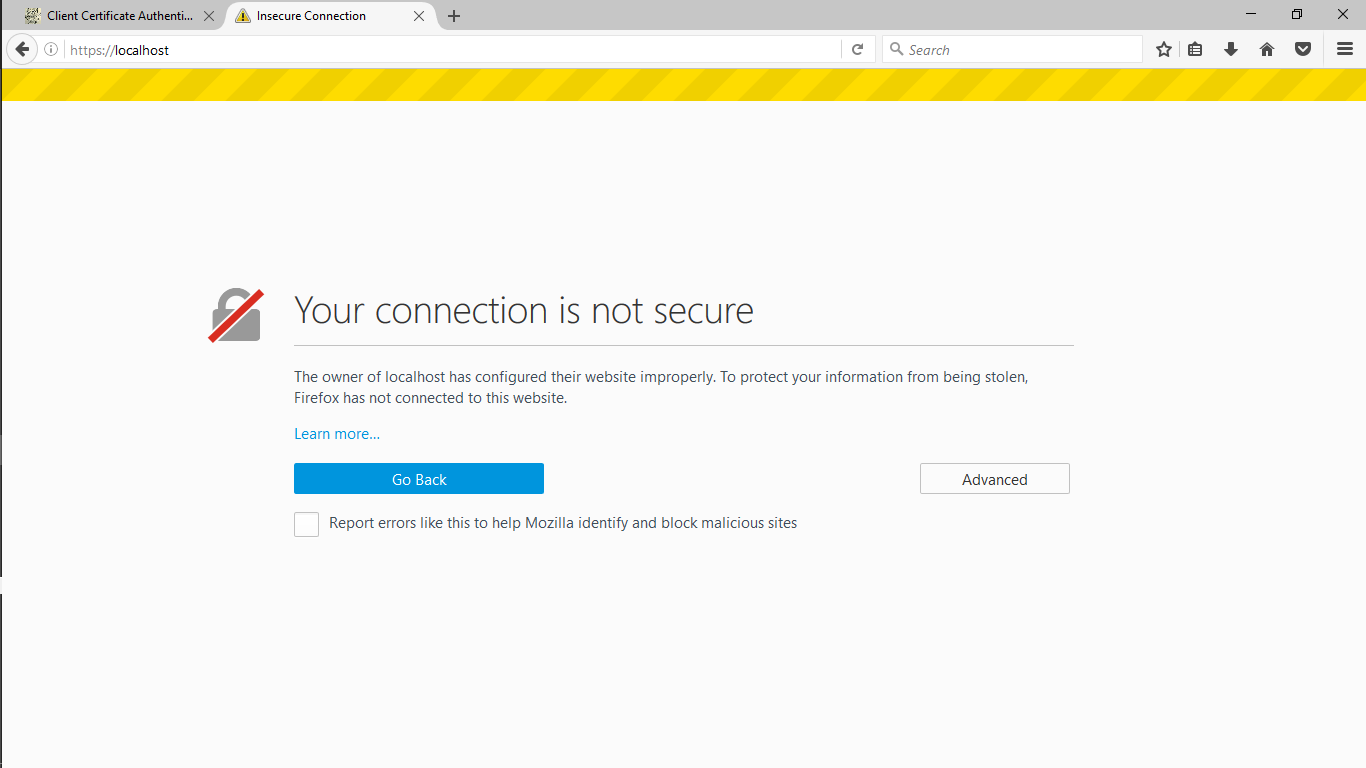
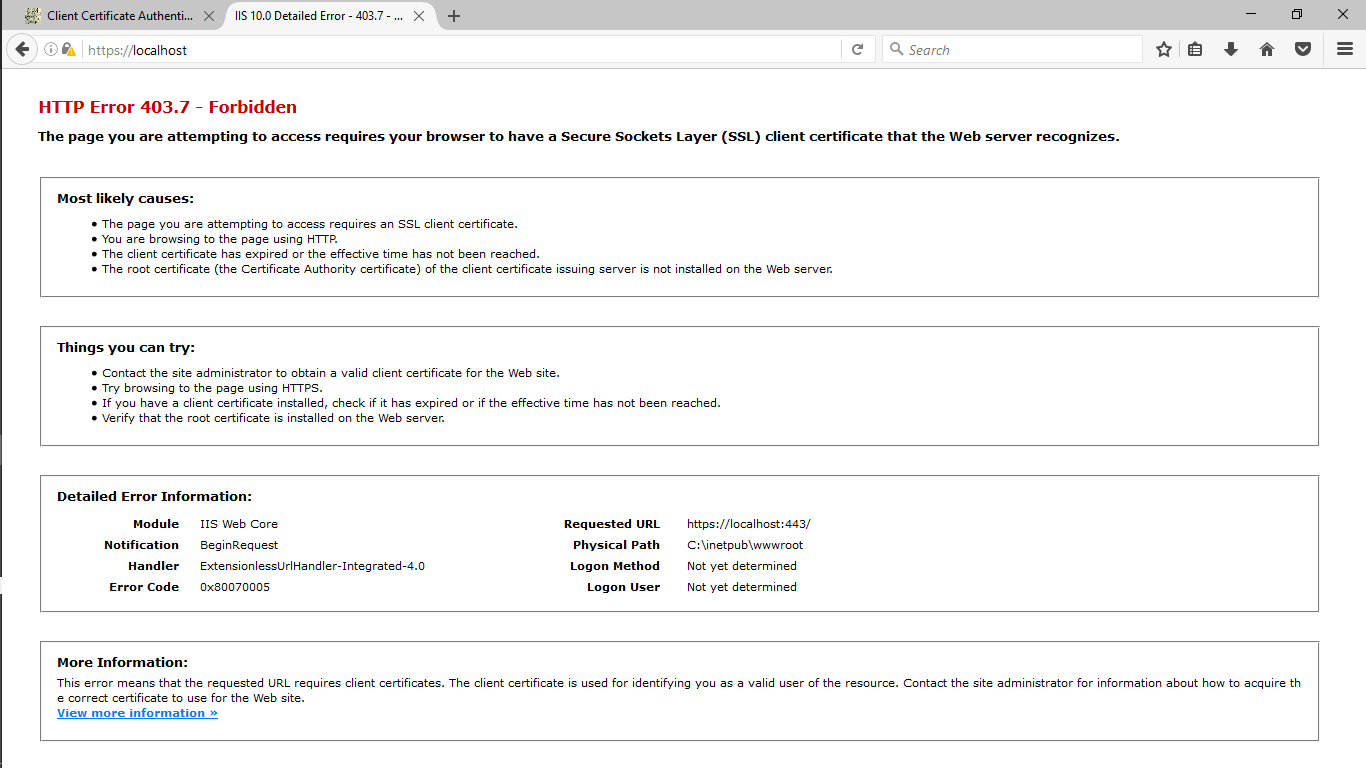
Once you accept the error navigate to the site https://localhost and you should see the following error: 403.7
Now we will perform client authentication by creating a certificate and installing it on the server.
In order to create a certificate run the following command in Microsoft Powershell, make sure you run powershell as an admin.
New-SelfSignedCertificate -DnsName "www.test.co.uk", "test.co.uk" -CertStoreLocation "cert:\LocalMachine\My"
This command will create a self-signed certificate and store it in the computer's personal store
Now we need to move the certificate from the computer's personal store into the trusted store. This can be done by a simple drag and drop
You will need to have admin privileges for the next step, open the Windows run dialog using WindowsKey + R and type MMC and press enter
- 1. Open Certificates (Local Computer) | Personal | Certificates
- 2. Grab the www.test.co.uk certificate and drag it into Trusted Root Certification Authorities | Certificates
Now drag the certificate into the trusted store

Open the Trusted Root Certification Authorities | Certificates store and find the www.test.co.uk certificate
Right click on that certificate and select All Tasks | Export. Make sure you export the private key, follow the wizard and save the certificate to your desktop
Double click the certificate to begin the installation wizard. Make sure that the Current User store is selected, apart from that follow the default steps until the process is complete
Go back to your browser and type https://localhost you should see the following:
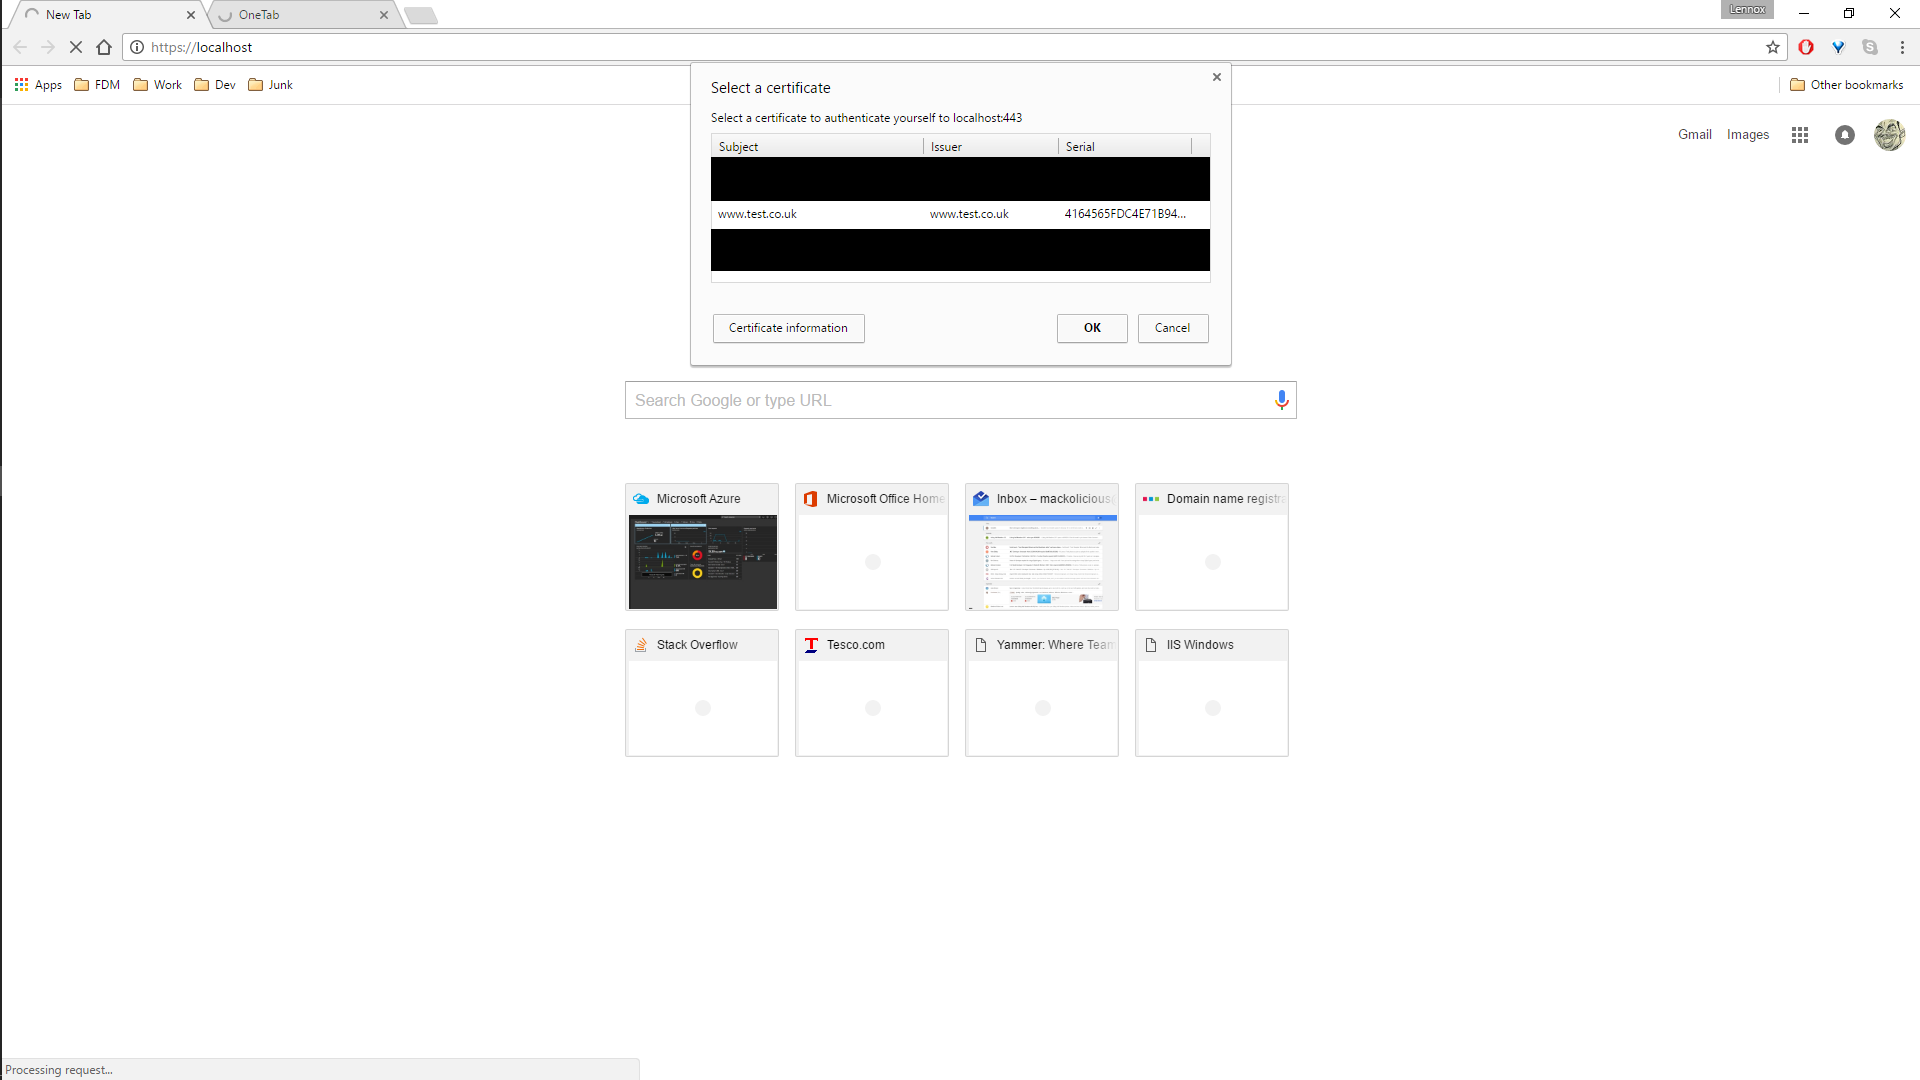
Hopefully everything should be working and you should be able to select client certificate